Recently I made a King’s Landing Handmaiden dress from the ever popular series Game of Thrones. To complete the look, I needed a leather hand-painted belt. This is my step-by step process on how to construct said leather belt. You will need copy paper, a pencil, 3-5oz veg tan leather, leather scissors or a sharp box cutter knife. A leather punch with multiple sizes, a mallet, leather rivets and a leather rivet-setter tool, grommets, a grommet setter, some cord, liquid acrylic paints, and acrylic varnish. Optional leather tooling stamps.
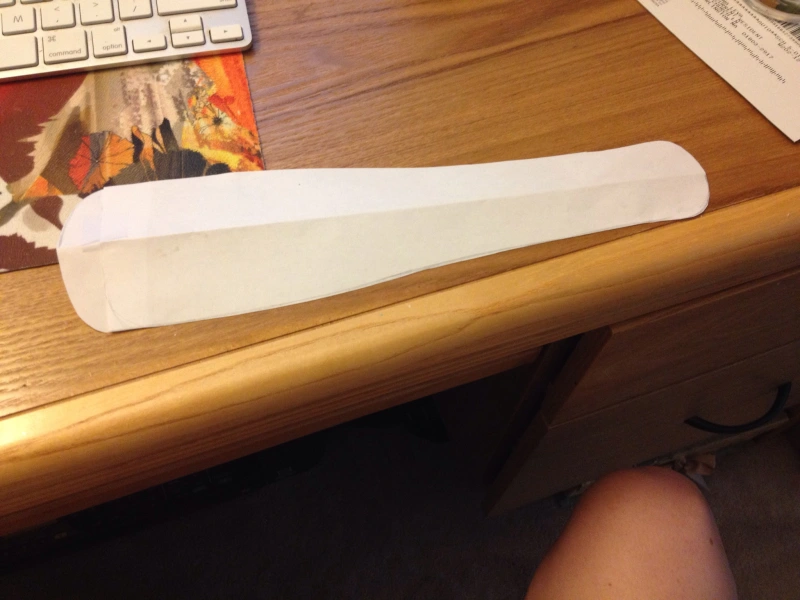
Start by drafting a pattern with a piece of paper. You can customize the size and shape to accommodate your own measurements. This section represents HALF of the belt. One half, on me, was roughly 10 inches long and 3 inches tall. I recommend experimenting and holding it up to your waist to see what looks good on you. If you have a long torso like me, try a tall belt. If you have a short torso, a short belt may look best.
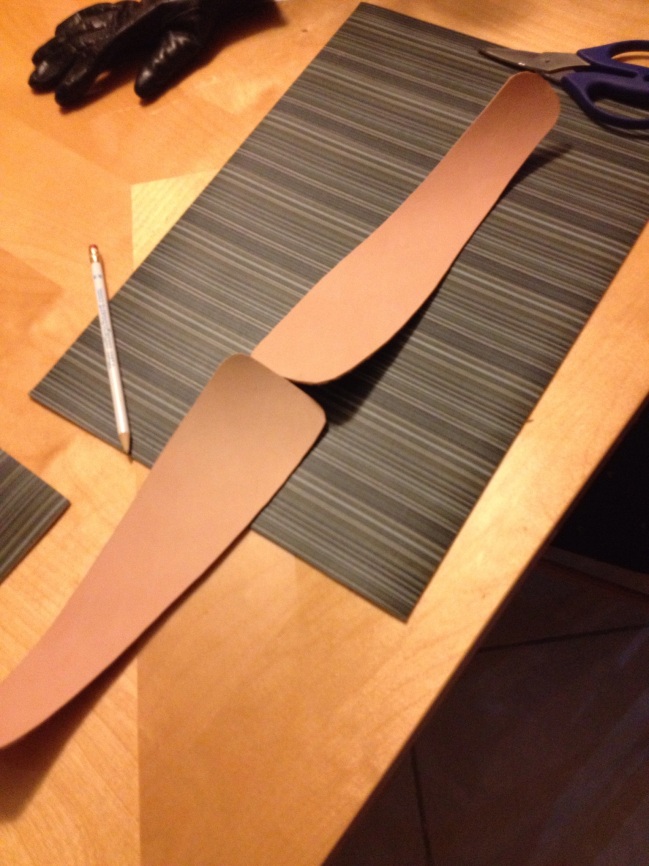
Trace the two halves of your belt onto 3-5oz vegetable tanned leather. Cut out using leather scissors or a box-cutter knife. I find that Scissors are way easier to get a clean cut with. You must take extra care with a knife to keep your edges clean.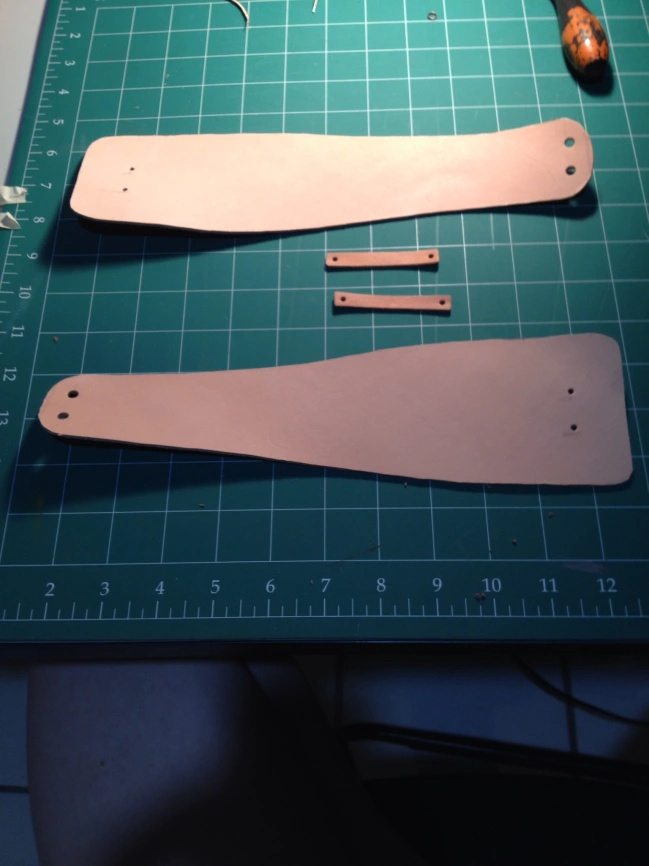
To connect the two halves in the middle, cut some connection pieces for the same leather. I chose to connect the two halves with two thin rectangular strips of leather, but you may choose to use one thicker strip. Line all the pieces up and mark where to punch holes for your hardware. The smaller holes on the wide side of the belt are for rivets that will join the two halves together. You should punch a hole just big enough to slide a rivet through, and no larger! The larger holes on the thinner end of the belt are for grommets which you will use to lace up the belt when it is complete.
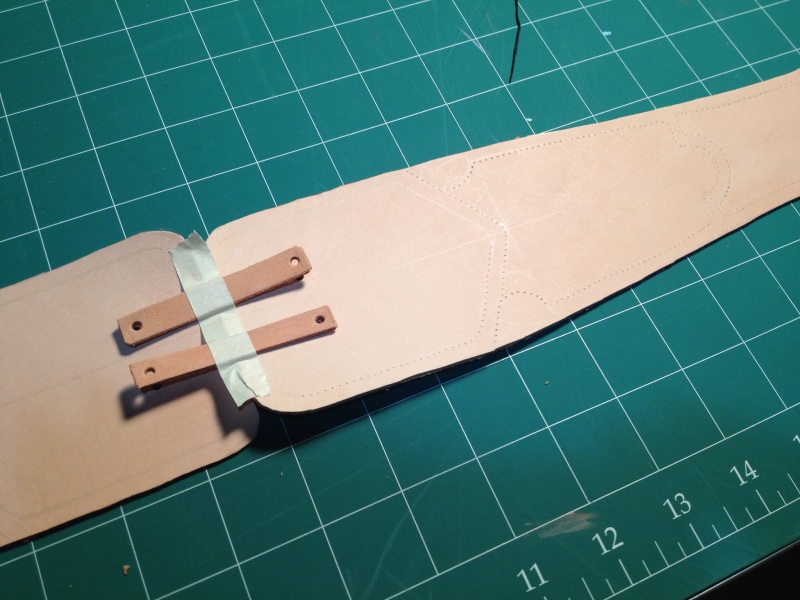
At this stage you may add any decorative tooling. I’ve done a simple stippling stitch pattern, which I only loosely followed while painting. It adds an extra level of texture and intrigue to the belt but it is not an essential step.
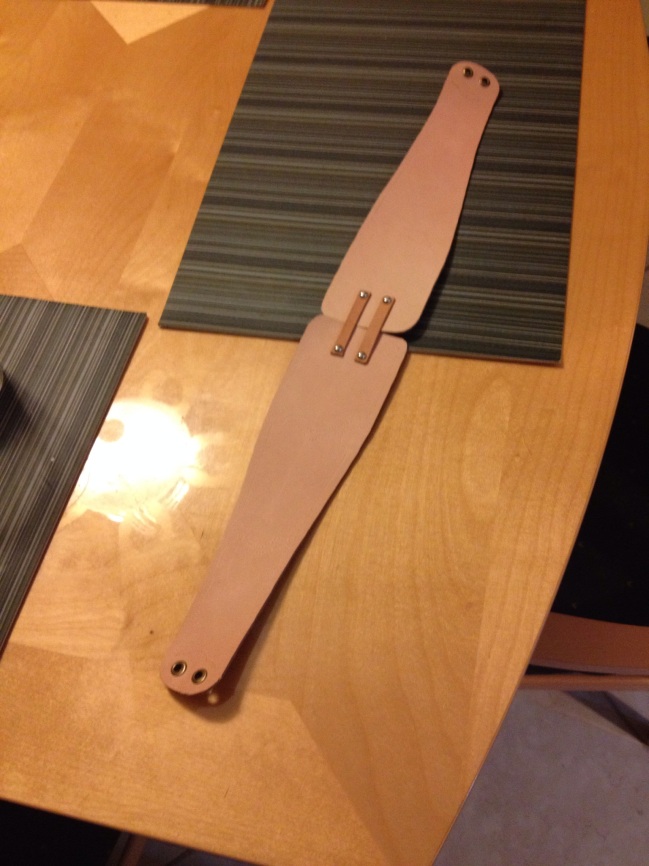
Time for hardware! Rivet the belt together and insert and secure grommets. You will need a rivet setter and a grommet setter. You can’t make it look pretty with make-shift tools.
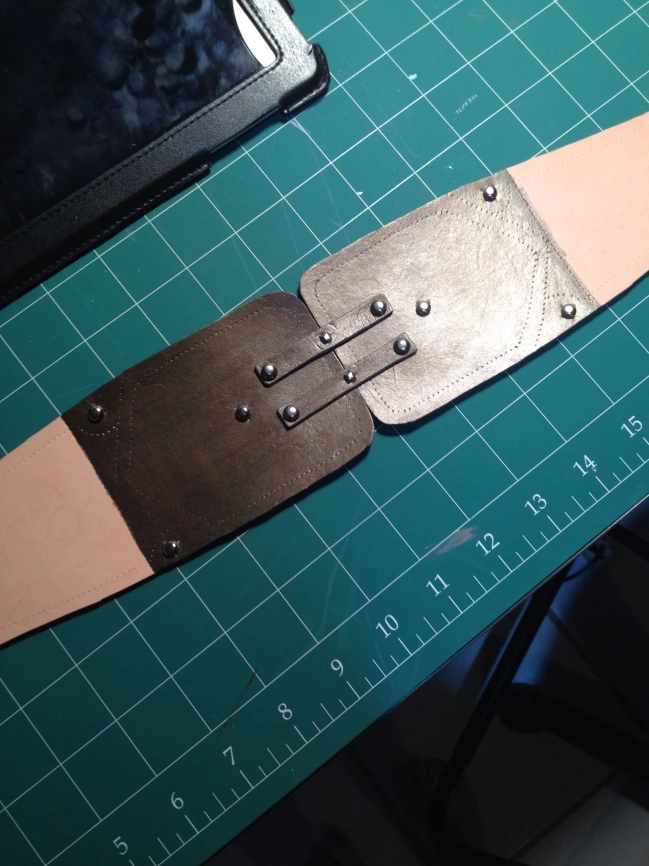
Begin painting and embellishing! I recommend painting before applying any studs or embellishments. I paint my leather with liquid all purpose acrylics, and seal with an acrylic varnish. They come in a range of finishes; I prefer glossy for most projects. The paint that I mixed for the center of the belt had a little shimmer to it, which I think looks nice on a feminine character, but some costumes do not want to look shimmery.
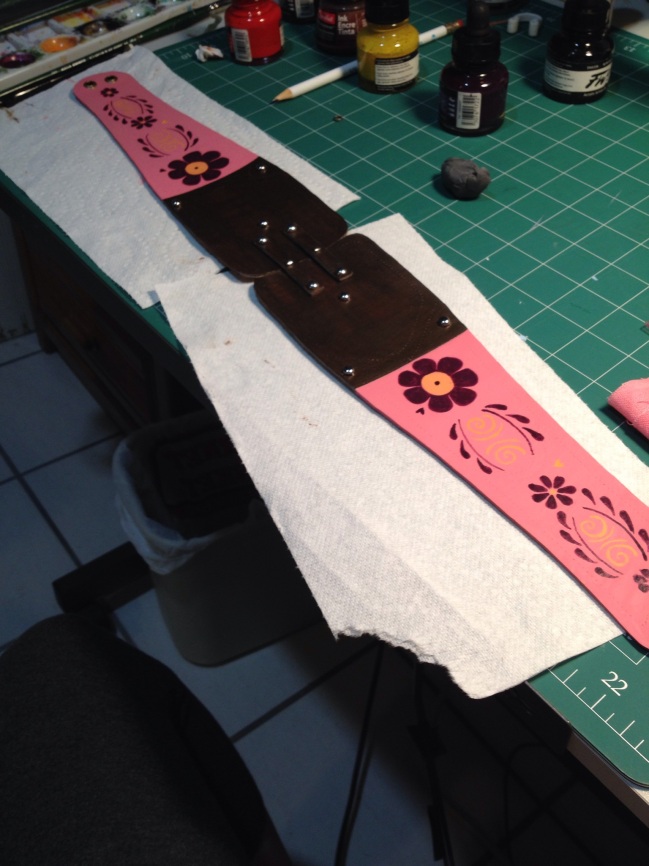
Hand-painted details will make your belt really stand-out. Here I did a base coat (or two) of pink over the most of the belt and let it dry completely overnight before painting on the flowers. You can draw lightly over dry acrylics with a pencil to plan out your design. Then paint right over the pencil. When the design is completely dry, use a kneaded eraser to lift up any pencil that is still visible. It should come off pretty easily–don’t scrub too hard. Once all the pencil is gone you can varnish the whole belt.
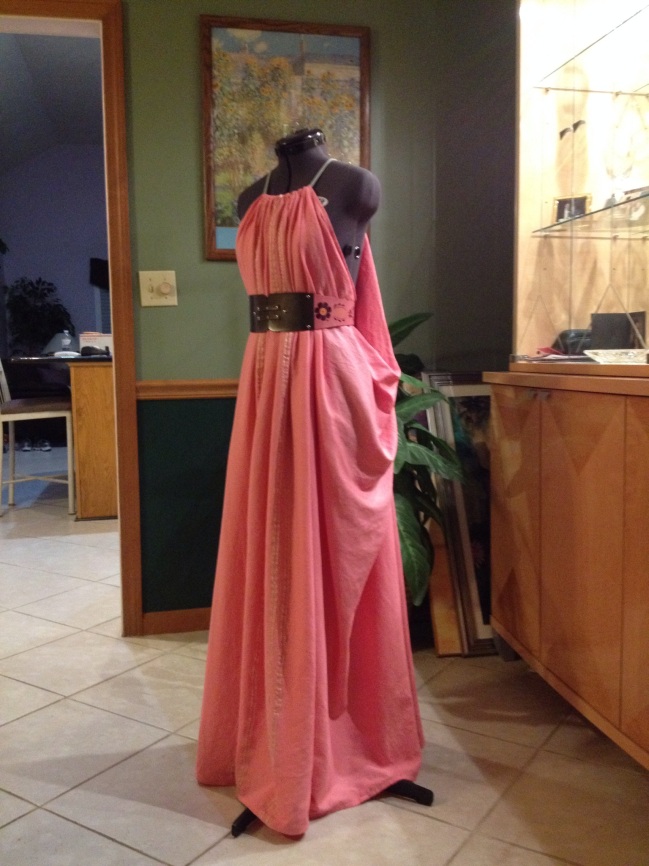 Here is the belt with the completed handmaiden dress. It really pulls the look together, right?
Read Full Post »


